Integration with Google Sheets in Boomi
In this blog, we will see how to integrate Google Sheets in Boomi.
What are Google Sheets?
It is a product offered by Google. It provides an online mechanism for maintaining data in the form of spreadsheets. This app allows users to create and edit files online while collaborating with other users in real-time. We can create, update, modify, delete spreadsheets, and share data across different users.
In this Use Case, we are going to send data to Google Sheets by configuring the Google Sheets connector in Boomi and sending the response in a file to the disk location.
Google exposes certain APIs and to consume those, we have to pass some security. Here, we are consuming Google Sheets API and Google Drive API. To access these APIs, we have to create credentials and use them in the Google Sheets Connector.
Let us see how to create credentials and enable API’s.
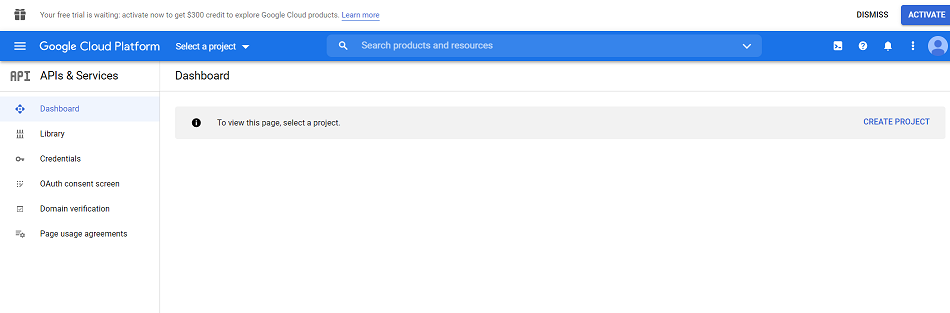
Step 1: Click on the Google Cloud link from where we can view the API’s.
https://console.cloud.google.com/apis/dashboard
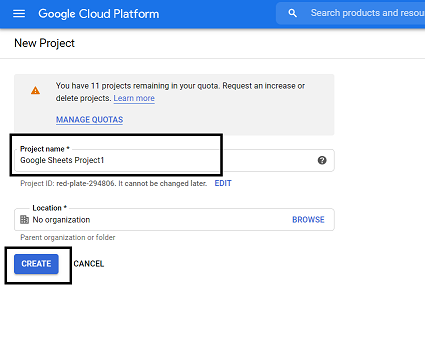
Step 2: Now, let us create a project. Click on Create a project and give the project name as Google Sheets Project1. Select create.
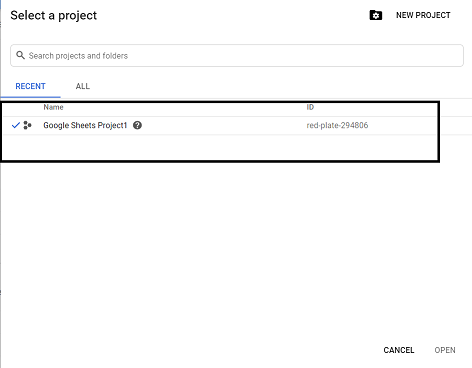
Step 3: We can see that project “Google Sheets Project1” is created. Click on cancel.
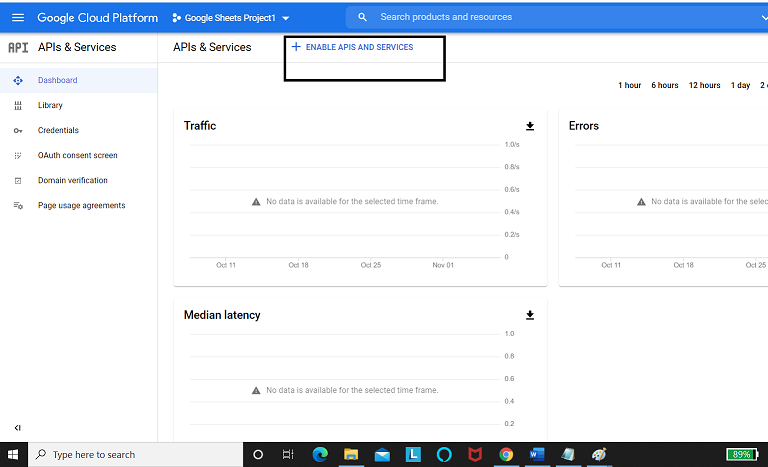
Step 4: Click on Enable API’s and Services.
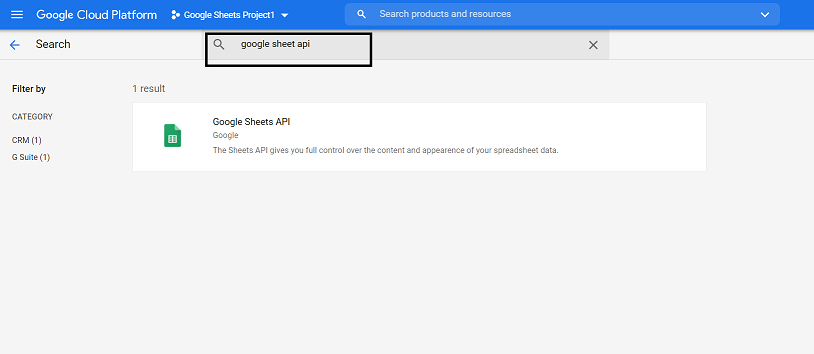
Step 5: Search for the API which we want to enable. Here, it will be Google Sheet API.
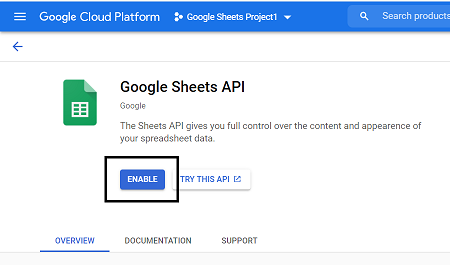
Step 6: Choose Enable and we see that Google Sheets is Enabled and we have to create credentials to use this API.

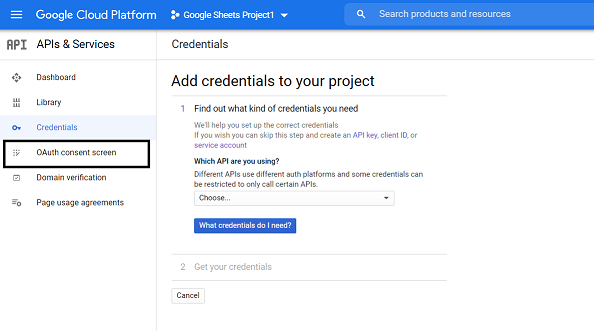
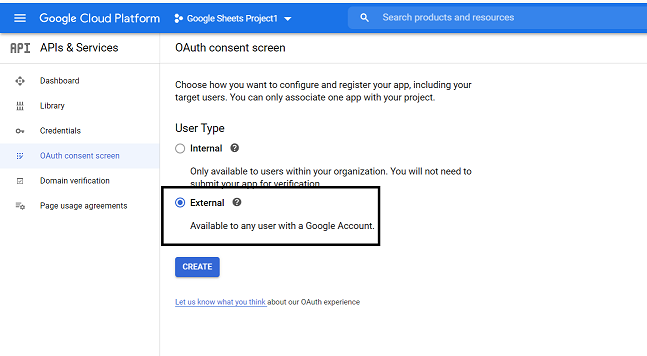
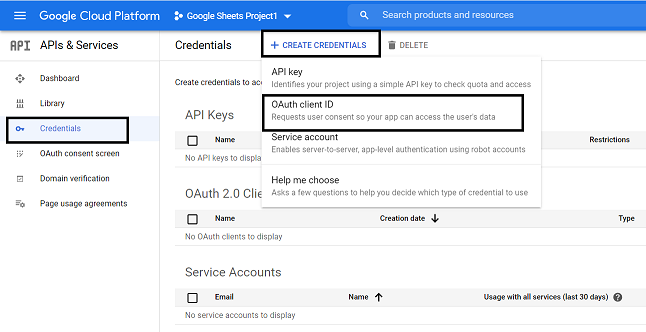
Step 7: Click on Create Credentials and navigate to the OAuth consent Screen as shown below.
Step 8: Choose External and create.
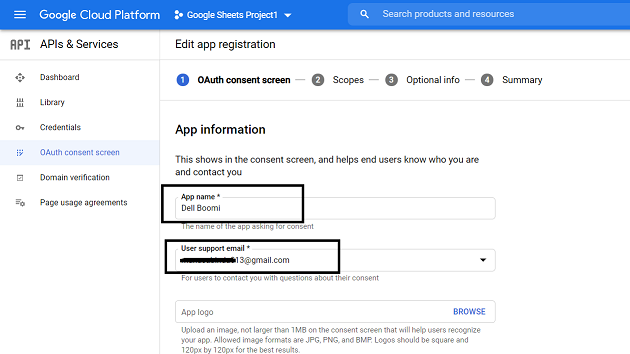
Step 9: Give the App name Dell Boomi and give your Email ID. Scroll down and give the developer’s email ID so that any changes made to the project will be notified. Click on save and continue.
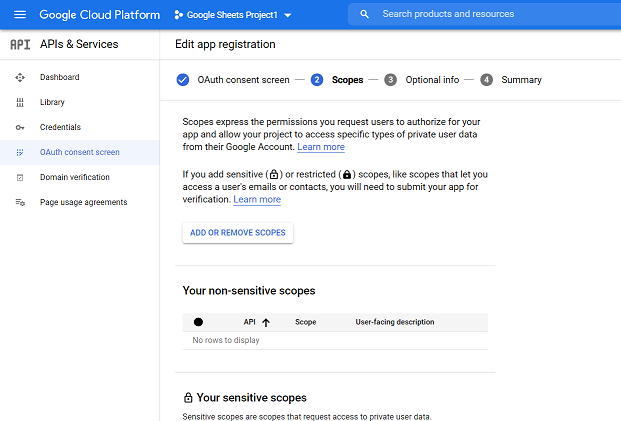
Step 10: Leave everything with default options. Click save and continue.
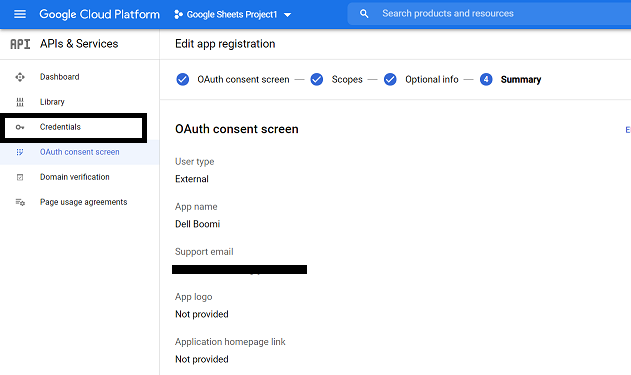
Step 11: We see that the App is registered. Click on credentials as shown.

Step 12: Now, click on Credentials and select OAuth Client ID as shown.

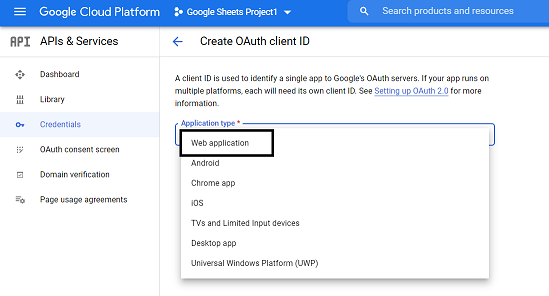
Step 13: Select Application Type as Web Application.
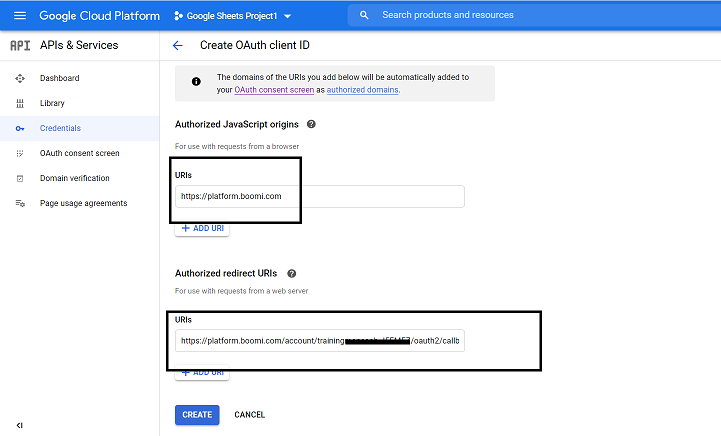
Step 14: We have to specify the name, Authorized Java Script Origin uri and Authorized Redirect uri.
Authorized Java Script Origin URI tells us from where we are trying to access the API.
https://platform.boomi.com
Authorized Redirect URI will redirect once the request is authenticated.
https://platform.boomi.com/account/<your_Boomi Integration_account_ID>/oauth2/callback
Give your Boomi Account ID in place of <your_Boomi Integration_account_ID> in the above URL.
- To get a Boomi Account ID, log into the Boomi Platform. Go to settings and click on User Information.
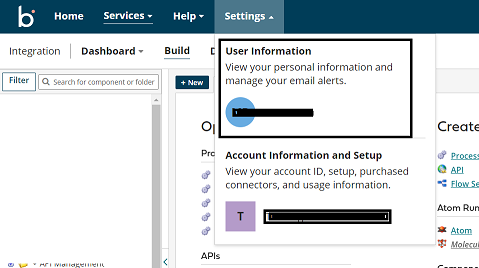
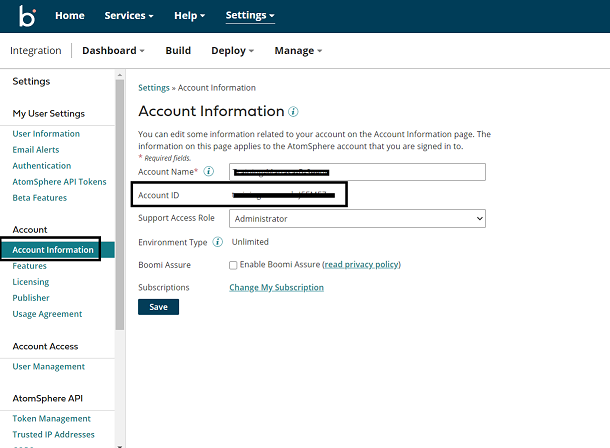
- Select Account Information on the left and We will find Account ID
- Now, set the Redirect Uri to https://platform.boomi.com/account/<account ID> /oauth2/callback
Step 15: Click on Add Uri add both the Uri’s as mentioned above and click on Create.
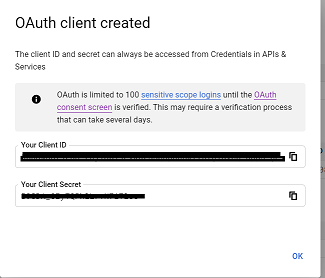
Step 16: We see that the Client ID and Client Secret key have been generated and will be responsible for creating a connection to Google Sheets in Boomi. Click ok.
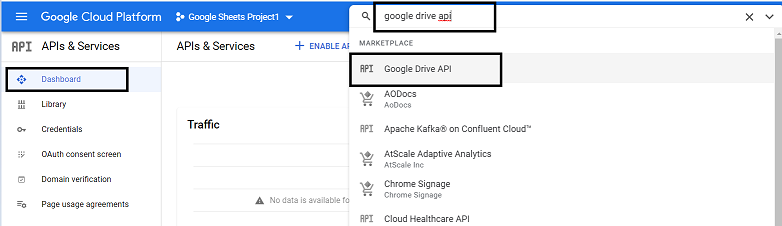
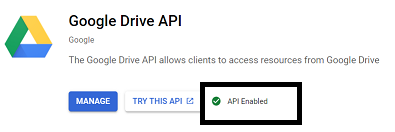
Step 17: Navigate to the dashboard and search for Google Drive API.
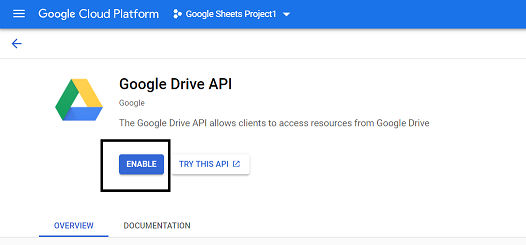
Step 18: Enable the API.
Step 19: Navigate to Dashboard and search for Google Sheets API and Google Drive API’s. We see APIs are enabled.

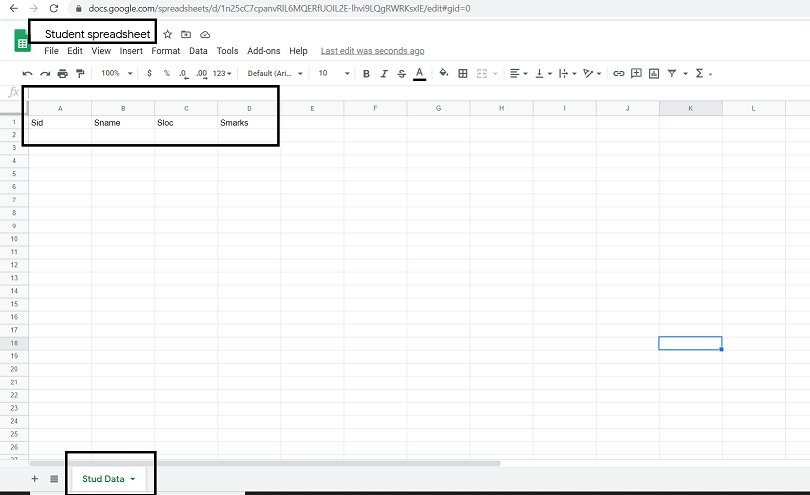
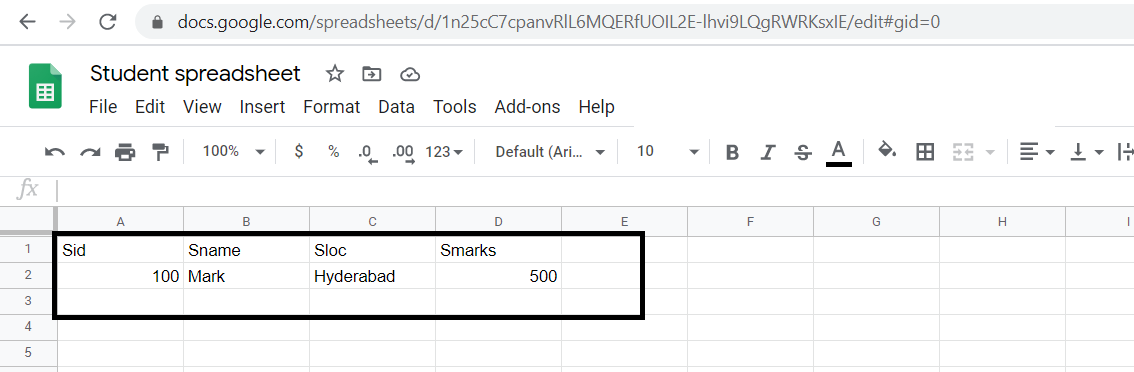
Step 20: We will create a Google spreadsheet with 4 headers as sid, name, sloc, and smarks and will send the values via Boomi by configuring the operation in Google Sheets.
- Click on the link https://docs.google.com/spreadsheets/u/0/ and authenticate with email ID and password and then you will be able to see the spreadsheet. Choose Blank.

- Name the spreadsheet as “Student Spreadsheet” and add 4 columns. Also, name the sheet Stud Data as shown below.
Now, let us see the steps to integrate Google Sheets Connector in Boomi.
Step 1: Log on to the Boomi platform (https://platform.boomi.com/) with the required credentials i.e. Email Address and Password.

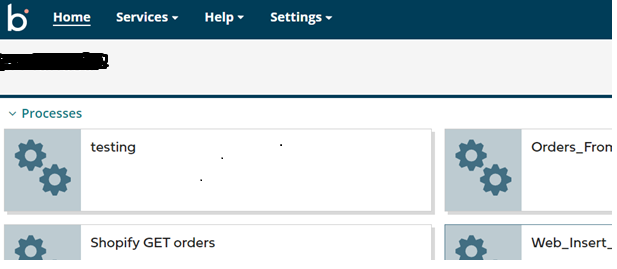
Step 2: Once logged into the Boomi platform, we will be able to view the Home page.
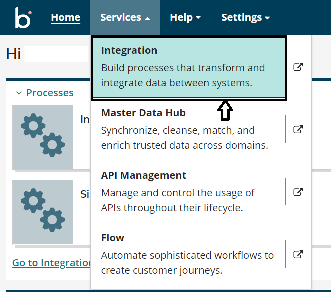
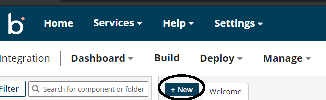
Step 3: Now, click on Services followed by Integration. We will see the Build page. Click on New.
Step 4: Once, click on New, we will be able to see three fields i.e. Type, Component Name and Folder.
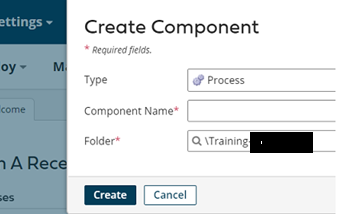
- Select Type as process as we are building a process. Component Name and Folder can be given based on your choice (i.e. which name to be given and where do we want to create the process). Click on Create.
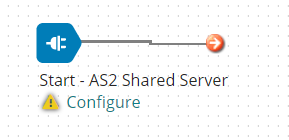
Step 5: We see that the process gets created with a start shape which is configured with AS2 Shared Server by default.
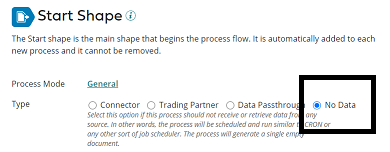
Step 6: Select the start shape and choose No Data. Click ok.
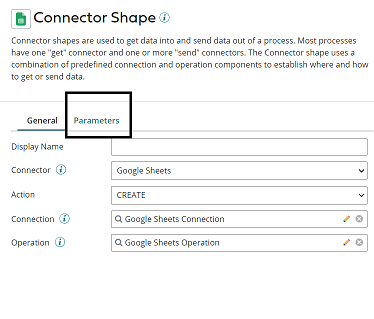
Step 7: Drag and drop Google Sheets Connector onto the process canvas. We have to configure Action, Connection and Operation.
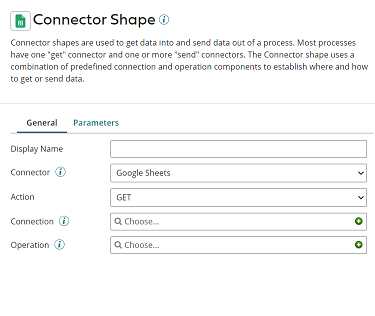
- In Actions, we have different operations like,
GET — If we want to retrieve the data.
DELETE — If we want to delete the data.
QUERY — If we want to look upon a specific search Criteria.
CREATE — If we want to create the data.
UPDATE – Update the existing data.
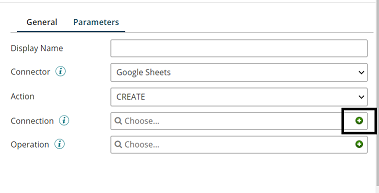
- Here, we choose action as create as we insert data into the spreadsheet.
Step 8: Click + on connection and name it.
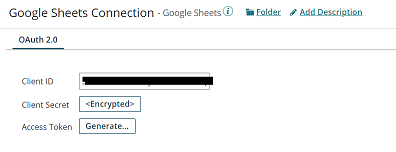
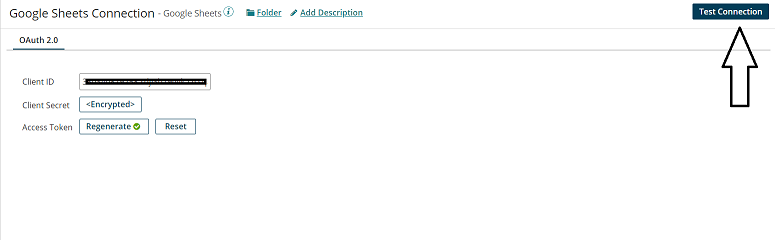
Step 9: Set Client ID and Client Secret Key which were generated in the Google Cloud Platform mentioned in Step 16. Click on Generate beside the Access token.
Step 10: We will be asked to choose an account to continue with Boomi.
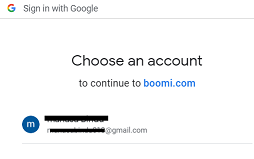
- Click on Advanced and select go to boomi.com
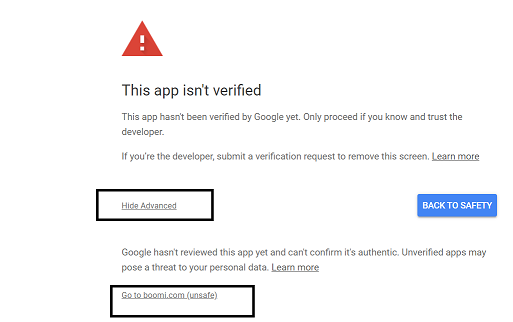
- We will have to allow access to Boomi. Once, we allow we receive the message as “Authorization Code Received”.

- Now, test the connection by clicking on Test Connection in the right corner.
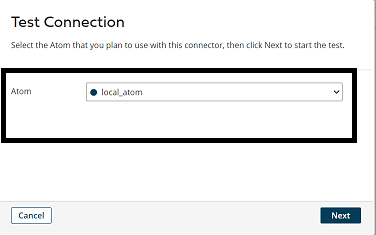
- Select the atom and click on Next.
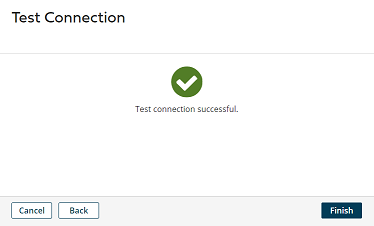
- We see that the Test connection is successful. Click Finish, Save and Close.
Step 11: Click + on Operation, name it and choose import.
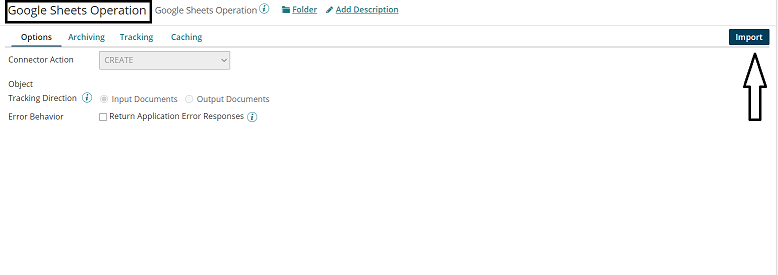
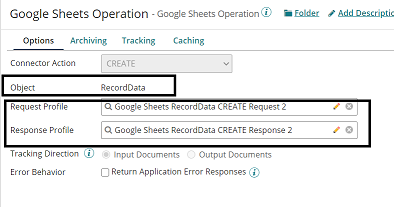
Step 12: We have to configure a few fields in the Operation.
Browse in: We will have to choose if we want to browse in the cloud or Atom.
Atom: If choose an atom in the above step, Choose the name of the atom here from the drop-down.
Connection: Choose the same connection which we have configured in Google Sheets Connection.
Spreadsheet ID: We can get the spreadsheet ID from the URL as shown.

Sheet Title: Give the title of the sheet.
Option: Check in the option as we have headers in the first row.
Initial Column: We have to mention the alphabet of the starting column.
Final Column: We have to mention the alphabet of the Last column.
- After configuring the above, it looks like,
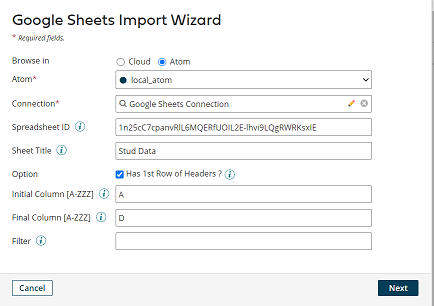
- Click Next.
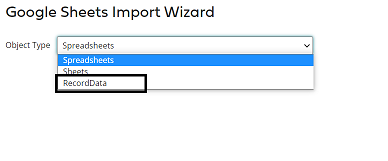
- Select Record Data as Object Type as we are inserting the data into a spreadsheet. Click Next.
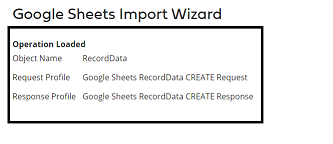
- We see that the profiles get imported. Click Finish, save and close.
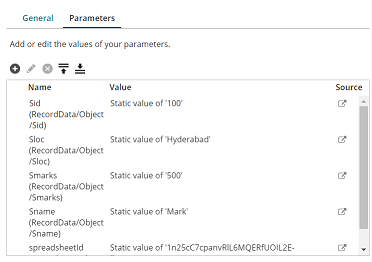
Step 13: Choose Google Sheets Connector and go to the Parameters tab.
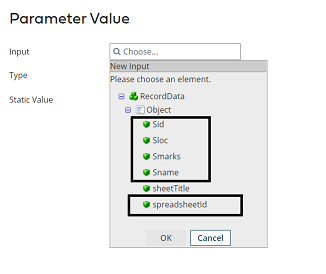
Step 14: Click + and select inputs as Sid, Sloc, Smarks, Sname and spreadsheetId.
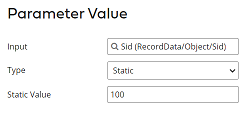
- Choose Input type as Sid, Type as Static and Static Value as 100.
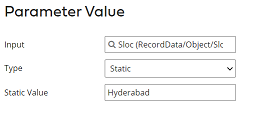
- Choose Input type as Sloc, Type as Static and Static Value as Hyderabad.
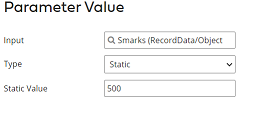
- Choose Input type as Smarks, Type as Static and Static Value as 500.
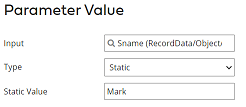
- Choose Input type as Sname, Type as Static and Static Value as Mark.
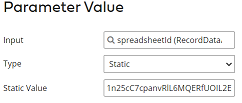
- Choose Input type as spreadsheetId, Type as Static and Static Value as 1n25cC7cpanvRlL6MQERfUOIL2E-lhvi9LQgRWRKsxIE.
- Click ok.
- After setting the parameters, it looks like
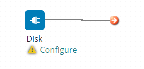
Step 15: Drag and drop the disk connector shape onto the process canvas to send a response to the disk.
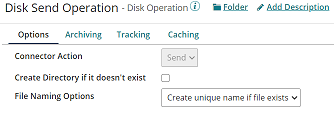
Step 16: We have to configure 3 fields in connector i.e. Action, Connector and Operation.
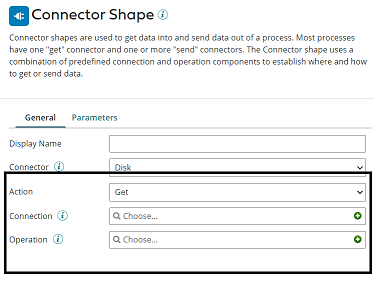
Get – To get the data from a disk location.
Send – To send to the disk location.
- Here, we will choose action as SEND as we are sending a response to the file.

- Click + on connection to create a new one.

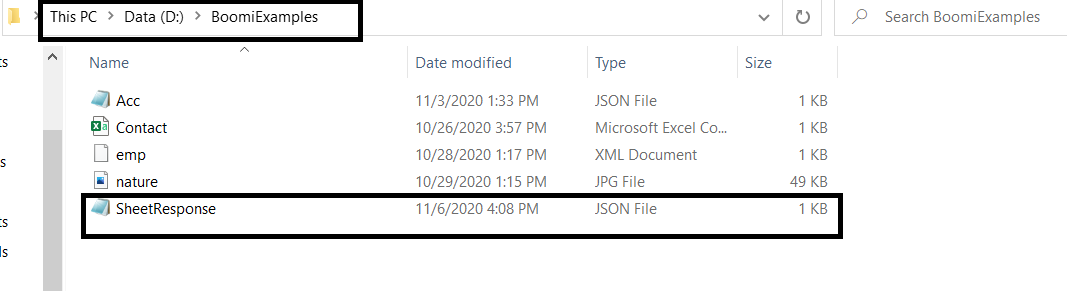
- Name the file and give the directory to save the response file. Here, it is the D drive and BoomiExamples folder as shown in the screenshot.
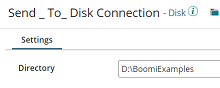
- Click save and close.
Step 17: Click + on operation and name it. Leave everything to default. Click save and close.
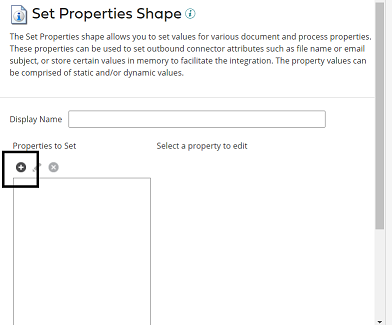
Step 18: Drag and drop set properties to shape onto process canvas to set the file name in disk. Select + on properties.
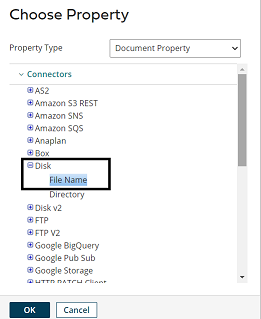
Step 19: Select disk connector from Connectors and choose file name. Click ok.
Step 20: Select + on the parameters side and assign a value to the disk.
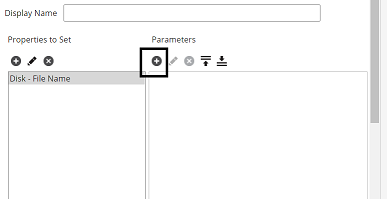
Step 21: Choose type as static and static value as SheetResponse.json.
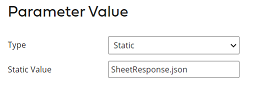
- After configuring the properties in a set properties shape, it looks like

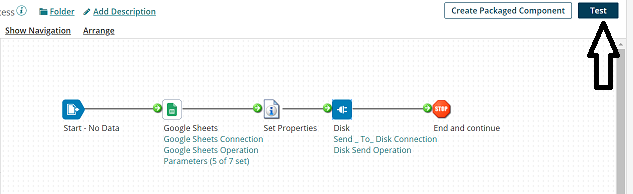
Step 22: Drag and drop the stop shape onto the process canvas to indicate the end of the flow.

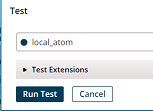
Step 23: Arrange all the shapes in order and run the test by clicking on Run Test and configuring the local atom.
Step 24: We see that the process has been executed. Select the disk connector and click on view source to see the response.
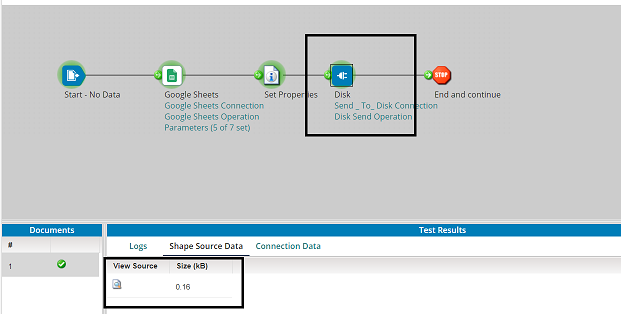
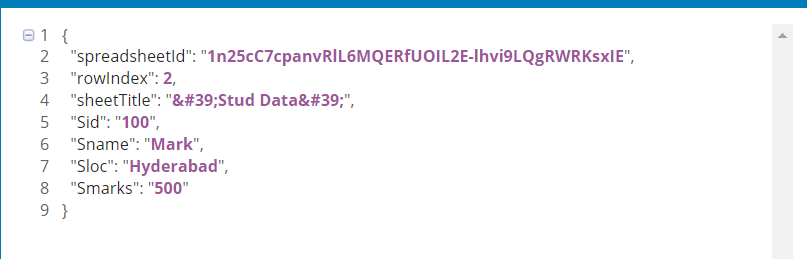
- We see that the data has been inserted into the spreadsheet.
- We have received a file in the disk directory named “SheetResponse.json”.