

Data Encryption and Decryption Using PGP(MuleSoft)
Overview:
- In the world of computer science, data plays a vital role in day-to-day business transactions. In our day-to-day life, we share a huge number of data to fulfill our requirements which might consist of sensitive information like our username, password, and many more personal details. This makes our data vulnerable to cybercriminals who can exploit our data and breach our privacy which can lead us to unavoidable complicacies. To avoid these issues Data security like encryption plays a very important role.
- One of the encryption mechanisms is known as PGP which was invented in 1991. The PGP stands for Pretty Good Privacy which can be used for data encryption and decryption using the Cryptographic algorithm.
- In the PGP mechanism, the public and private keys play a pivotal role in securing information.
PGP in brief:
- The PGP encryption and decryption work by generating key-value pairs which are known as public key and private key.
- We need to generate the public key and private key to encrypt and decrypt the data. The public key will be provided to the user for encrypting the data and the private key will be used for decryption of the data.
- To generate the certificates we have many tools available and we can make use of them to create the certificates from which we can extract the Public certificate and Private key for our encryption and decryption purposes.
- First Let’s learn how to generate the Public Certificate and Private Key.
Generate Public Certificate and Private Keys:
- There are N number of tools to create a PGP certificate like GnuPG, PGP Desktop, Kleopatra, GPGTools, GitBash, Mailvelope, and using Command Prompt as well.
- In this Demo, we are using GitBash to generate our Public Certificate and Private Key.
Generate Key :
- We can create a specific folder where we want to store our certificates. Then in that particular folder, we need to right-click and click on Open GitBash Here.
- Now the GitBash window will be opened and we need to run a command gpg –gen-key to generate the key.
- In the GitBash prompt now we can see it is asking real name which we can provide as per our requirement but the name length should be at least 5 characters. Now we need to provide the mail address in the prompt.
- Once we enter the mail id it will ask to verify if the mentioned information is correct or if we need to change it. If we need any changes we can do it accordingly otherwise, we need to enter ‘O’ and hit enter to generate the key.
- Once we hit enter a pop-up will come up asking for the password which will be needed for the private key to make it more secure. We can provide any password but the length should be a minimum of 8 characters.


List Keys :
- Use the gpg –list-secret-keys –keyid-format Long command in the GitBash prompt to get all the GPG keys available on the system.
- From the details of the listed keys we need to find our required key with the help of the name and email ID given at the time of generating the keys and we need to copy the fingerprint details and the unique key ID for further use.

- The data displayed in the red box we can see the fingerprint and unique key id.
Exporting the Public Key :
- The user or sender should send the message in the encrypted format to the server. The public key is used for data encryption in the PGP encryption mechanism.

- Here we need to provide the same Mail ID and Certificate name to export the public key.
Exporting the Private Key :
- Once the receiver gets the encrypted data, The data should be decrypted to process it further. It can not be processed in an encrypted manner.
- To decrypt the data we need the private key from the same key value pair.

- Now let’s configure our Mule application to leverage the PGP Encrypt and Decrypt components of the Crypto module.
Step 1:
- Open the Anypoint Studio create a Mule project and provide a name for the project.

Step 2:
- Now drag and drop a Flow and add an HTTP listener to it to create a source listener to get the mule event for the application.

Step 3:
- Now we need to configure the HTTP listener by providing the connector configuration and path.
- In connector configuration we need to provide the below details.
- Protocol: HTTP or HTTPS
1.Host: All Interfaces[0.0.0.0](default)
2.Port:8081
3.Rest we can leave as default. - Then hit OK.

- For path we can define any resource path following “/”.(Example: /PGPTest)

Step 4:
- Now drag and drop a Set payload component to create a payload we want to encrypt.

Step 5:
- First we need to add a Crypto module to our mule palette. To do so we can search in the exchange about the Crypto module to add it to our Anypoint Studio. Once added we can see in the mule palette.

- Once we got the Crypto module we can see multiple components to perform the required operation.

- We are using the PGP Encrypt and PGP Decrypt for this particular scenario.
- We need to add both the Public key and Private key in the src/main/Resources folder to use them.

Step 6 :
PGP Encrypt :
- First we will see the demo for data encryption using the PGP Encrypt component.
- We need to drag and drop the PGP Encrypt component.

- In the PGP Encrypt configuration we need to add some configuration details to make it operational.
- We need to click on plus in the module configuration tab and then we need to provide the below details.
- Public Keyring: mule_pub.gpg(The public key name)

2. Now we need to hit the plus icon to add some more details.
3. Key id: TGH (It can be anything for reference purposes)
4. Fingerprint: 31F04C55477963E6 (The fingerprint of the key which we can get from the list command)

- In the general segment we need to provide the details as below.
1.Content: payload (The content for encryption)
2.Algorithm: Default
3.File Name: stream
4.Disable mdc: Default
- We need to provide the below details in the key selection segment.
1.Key Id: TGH (The same as provided in the module configuration)
2.Pgp key info: Default

Step 7 :
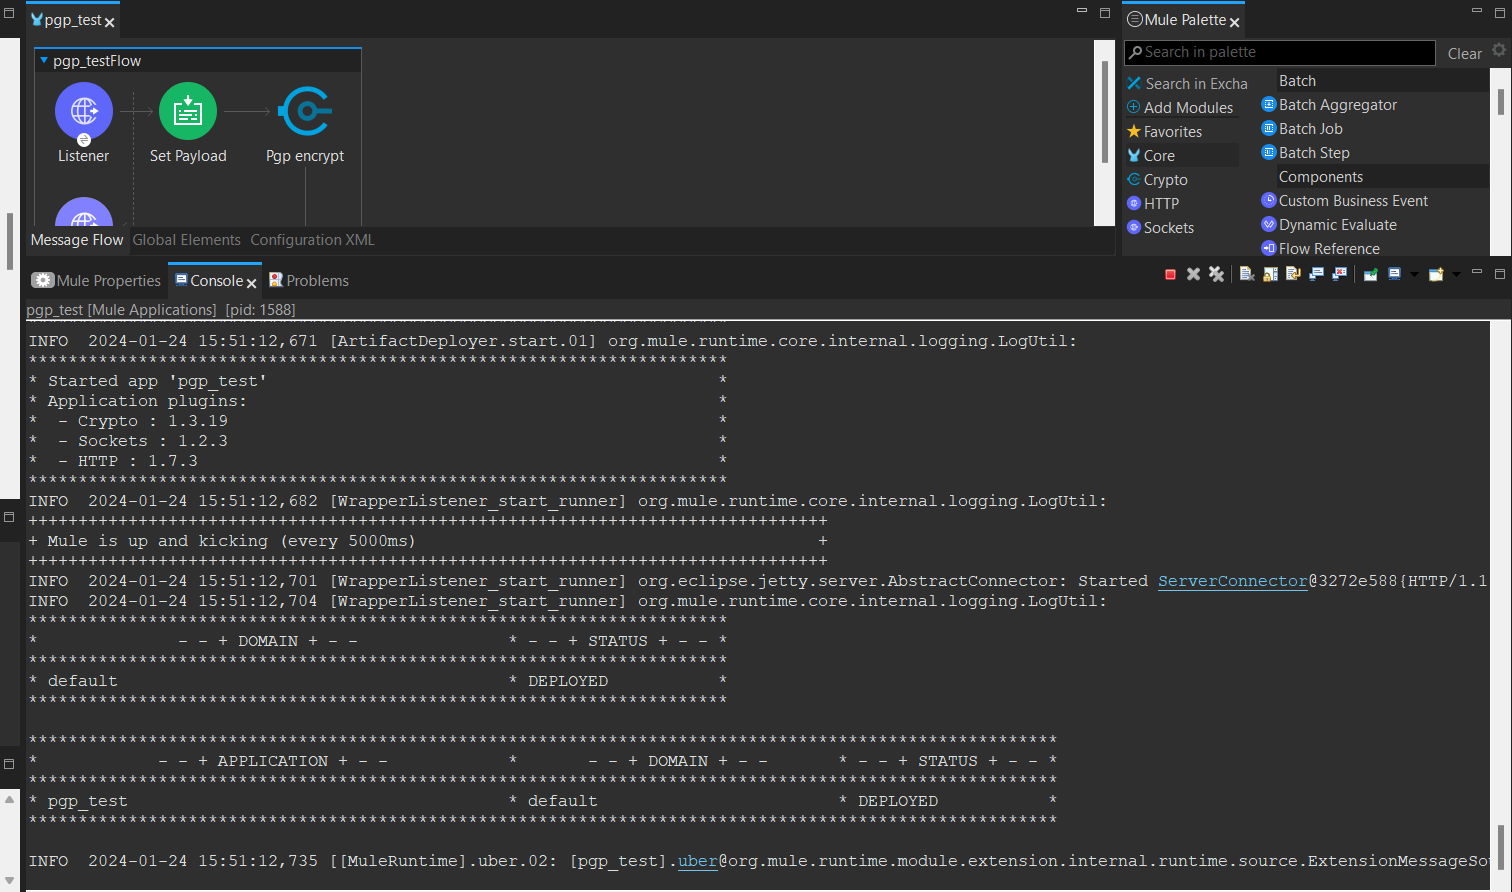
- Now our application is ready for deployment and testing. We can deploy it locally from the Anypoint Studio and once deployed we can test it from Postman.
- We can see the encrypted data in the response in Postman.


Step 8 :
PGP Decrypt :
- Now we will see the demo for data decryption using the PGP Decrypt component.
- We need to drag and drop the PGP Decrypt component to the flow.

- In the PGP Decrypt configuration we need to add some configuration details to make it operational.
- We need to click on plus in the module configuration tab and then we need to provide the below details.
1.Public Keyring: mule_private.gpg (The private key name)

2. Now we need to hit the plus icon to add some more details.
3. Key id: TGH (It can be anything for reference purposes)
4. Fingerprint: 31F04C55477963E6 (The fingerprint of the key which we can get from the list command)
5. Passphrase: mulesoft (The exact passphrase we provided while creating the key in the prompt)

6.Hit on ok.
- In the general segment we need to provide the details as below.
1.Content: payload (The content for encryption)
2.File Name :
3.Validate if signature found: Default

Step 9 :
- We can deploy it locally from Anypoint Studio and test it from the postman. Now application is ready for deployment and testing.
- In the response we can see the decrypted data.
