

Develop a Synchronous Soap API
In this blog, we will develop a synchronous soap API.
In this Use case,
- We will expose soap which takes employee id as request.
- We will retrieve employee data from database using employee id.
- Then, we will send employee data as response.
Let us begin with the steps.
Step 1: Log on to Boomi platform (https://platform.boomi.com/) with required credentials i.e Email Address and Password.

Step 2: Once logged into Boomi platform, we will be able to view Home page.

Step 3: Now, click on Services followed by Integration. We will see the Build page. Click on New.


Step 4: Once, clicked on New, we will be able to see three fields i.e.Type, Component Name and Folder.

- Select Type as process as we are building a process. Component Name and Folder can be given based on your choice (i.e which name to be given and where do we want to create the process). Click on create.
Step 5: We see that the process gets created with a start shape which is configured with AS2 Shared Server by default.

Step 6: Select the start shape and choose Web Services server from drop down in connector tab and click on “+” to add new operation.

Step 7: Give a relevant name to the operation and configure the following.
- Operation Type: We have to choose field based on the operation which we are going to perform. In this case, we are developing a service to display the welcome message. Therefore, Operation would be Create.
- Object: It can be given any name based on the operation. Here, we are giving it as Welcome.
- Expected Input Type: We have to choose input based on the profile we want to add i.e (XML, JSON etc). Here, we are considering Expected Input Type as Single XML Object as request profile is in XML format.

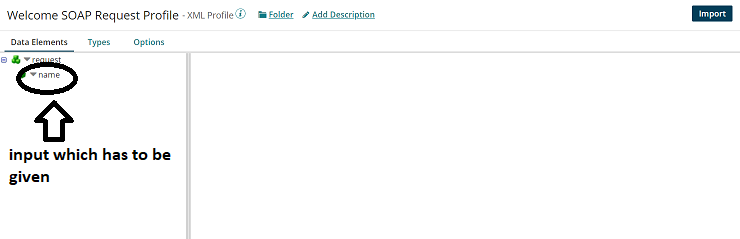
- Request Profile: To choose the request profile, click + and give it a relevant name. Choose import

- Once, clicked on import we will have to choose input file from the location where file is saved. Click Next and Finish


![]()
- We see that the request profile is loaded successfully. Click Finish, Save and Close.

- Click save and close.

Welcomereq.xml file looks like:
<?xml version=”1.0″ encoding=”UTF-8″?>
<class>
<id>201</id>
</class>
- Response Output Type: We have to choose the output based on how the data should be represented as response. Here, we are expecting the output to be in XML format. Therefore, we are considering Response Output Type to be as a single XML object as response would be in XML Format.

- Response Profile: To choose the response profile, click + and give it a relevant name. Choose import.

- Once, clicked on import we will have to choose output file from the location where file is saved. Click Next and Finish.


![]()
- We see that the response profile is loaded successfully. Click Finish, Save and Close.


- Click save and close.

- Post adding Request and Response profiles, the operation looks like

- Welcomeres.xml file looks like
<?xml version=”1.0″ encoding=”UTF-8″?>
<class>
<empid>201</empid>
<empname>Smith</empname>
<country>Australia</country>
<age>30</age>
<salary>10000</salary>
</class>
- Click save and close.
Step 8: We will create a table in the database using oracle database.
- Open SQL plus and connect as below:

- Create a table with name “employee” as follows:

- Command:
CREATE TABLE EMPLOYE (EMPID INTEGER, EMPNAME VARCHAR2(100), COUNTRY VARCHAR2(100),AGE INTEGER, SALARY VARCHAR2(20));
- Insert values into table as follows:

- COMMAND:
INSERT INTO EMPLOYE VALUES (101,’SMITH’,’AUSTRALIA’,31,10000);
INSERT INTO EMPLOYE VALUES (102,’KOHLI’,’INDIA’,30,20000);
INSERT INTO EMPLOYE VALUES (103,’WILLIAMSOM’,’NEW ZEALAND’,30,30000);
INSERT INTO EMPLOYE VALUES (104,’MORGAN’,’ENGLAND’,34,40000);
Step 9: Search for database shape in search pallet. Drag and drop the it after Web Services Server connector.
- Choose the action as Get and click on “+” to add a new database connection.

Here we have to configure:
- Driver type: It is the type of the driver we are using. In our case it is Oracle. Select Oracle from dropdown.

- User name: It is the Username of our database. Here it is SYSTEM.
- Password: Give the password of the database.

- Host: It is the address of the host. Localhost in our case.
- Port: Port number of the database. In our case it is 1521.
- Database Name: It is the name of the database. Here it is “XE”.

- Click on save and close.
Step 10: Click on “+” to add a new operation as below:

- Click on “+” to add a new profile.

- Click on Fields and add multiple fields as below:

- Select 5 and click on ok.

- Click on each field to rename as follows:
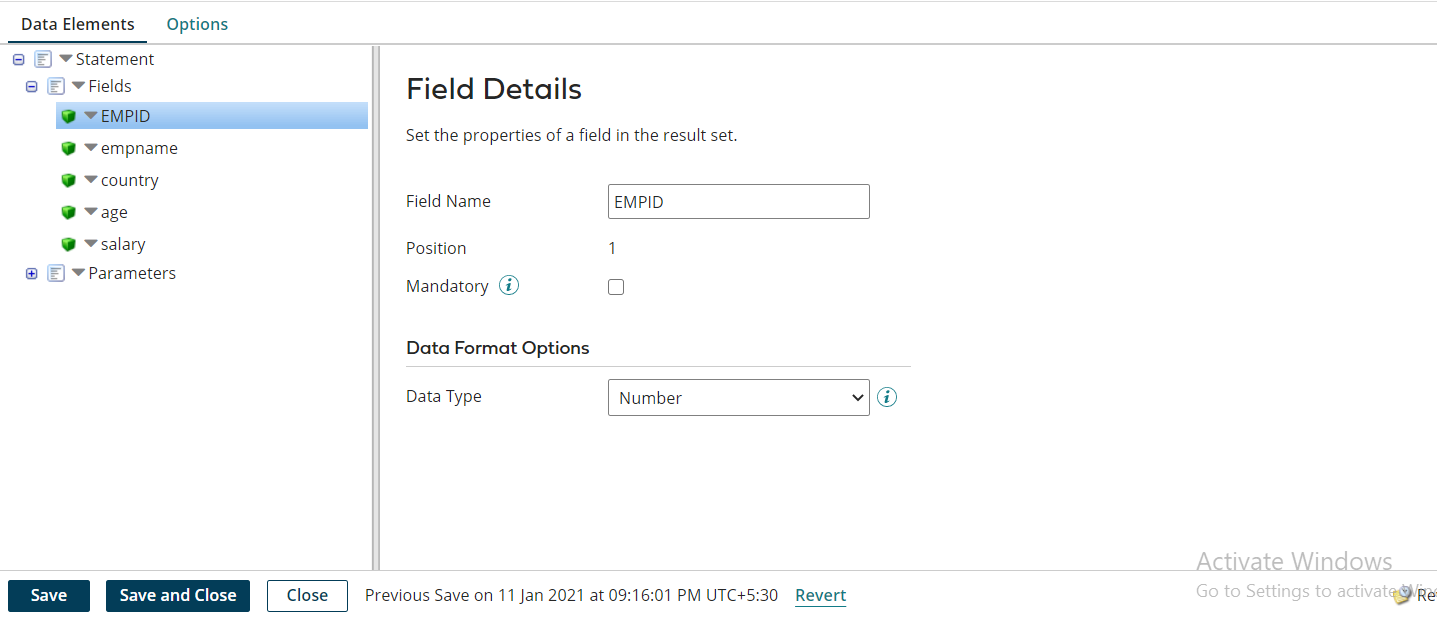
- Expand parameters tab and click on add new parameter.

- Rename parameter and select number from the datatype drop down.

- Now we have to write a SQL statement to retrieve data from database. To write a query click on Statement as follows:

- Add the query in the SQL script tab as follows:

- STATEMENT:
- SELECT * FROM SYSTEM.EMPLOYE WHERE EMPID=?
- Here we are getting all fields from employee table using empid. Here “?” indicates the dynamic parameter.
- Click on save and close.
- Click on parameters to add a parameter.

- Click on “+” to add a parameter.

- Click on input tab and select parameter ad click ok.

- Click on Type tab and select profile element and click ok.

- Click on profile type and select XML from drop down.

- Click on profile and select welcome soap response profile which we created early.

- Click on element and choose empid from drop down and click ok.

- Close the connector by clicking ok.

Step 11: Search for Map shape in search pallet. Drag and drop the shape onto process canvas and place it after database connector. Click on “+”.

- Click on choose in map source

- Select the database profile we have created earlier and click ok.

- Click on choose in the map destination.

- Click on xml from drop down and select welcome soap response profile which we have created earlier and click ok.

Step 12: Provide one to one mapping as follows and click on save and close.

Step 13: Search for Return documents shape in search pallet. Drag and drop the shape onto process canvas and place it after map shape.

Step 14: Click on create packaged component to package.

- Click on add next details and Click Ok.

Step 15: Click on deploy to deploy the process.

- Select the environment and click on next.

- Click on next and click Deploy.


Step 16: Click on manage and go to atom management and click on the atom which we have used to deploy the process.


- Click on shared web server.

- Copy the base URL address.
- http://localhost:9090

- Click on API type and select intermediate and click on save.

- Click on restart plugin.

Step 17: Click on configure in start shape and go to the operation.

- Copy the Soap URL address.

- Append the base with soap URL and add ?wsdl in the end as follows.
- http://localhost:9090/ws/soap?wsdl
Step 18: Open soap UI and paste this URL in the initial WSDL tab and click ok.

- Expand the Create EmpId and click on request 1

- Give empid as input between empId tags and click on execute as follows:

Step 19: We see that the data has retrieved from the database.
